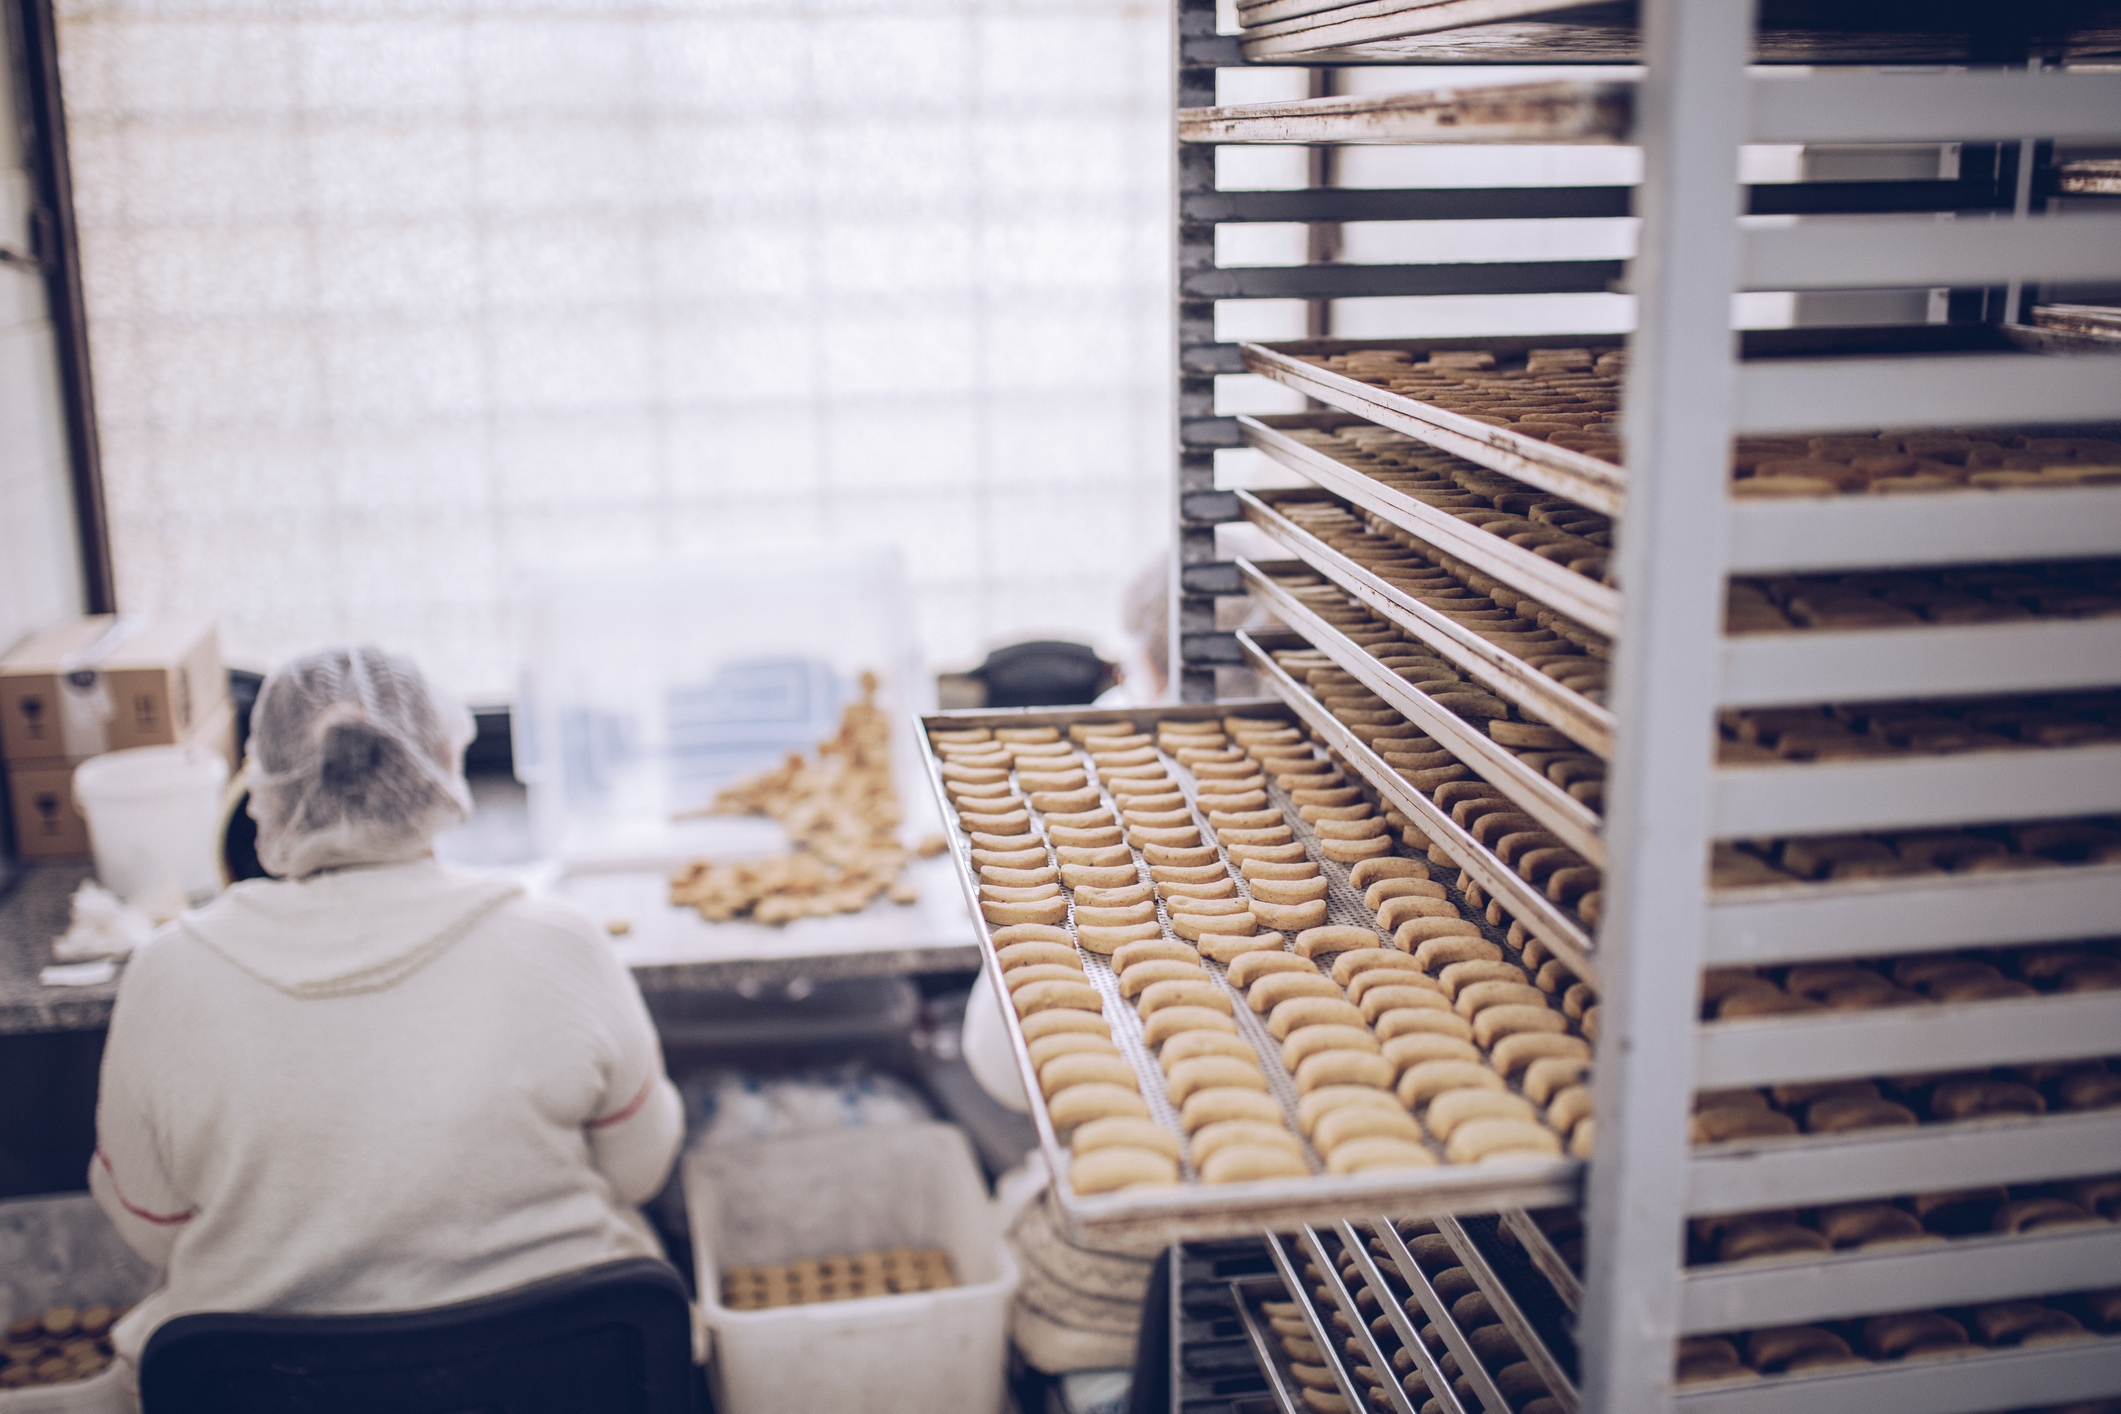
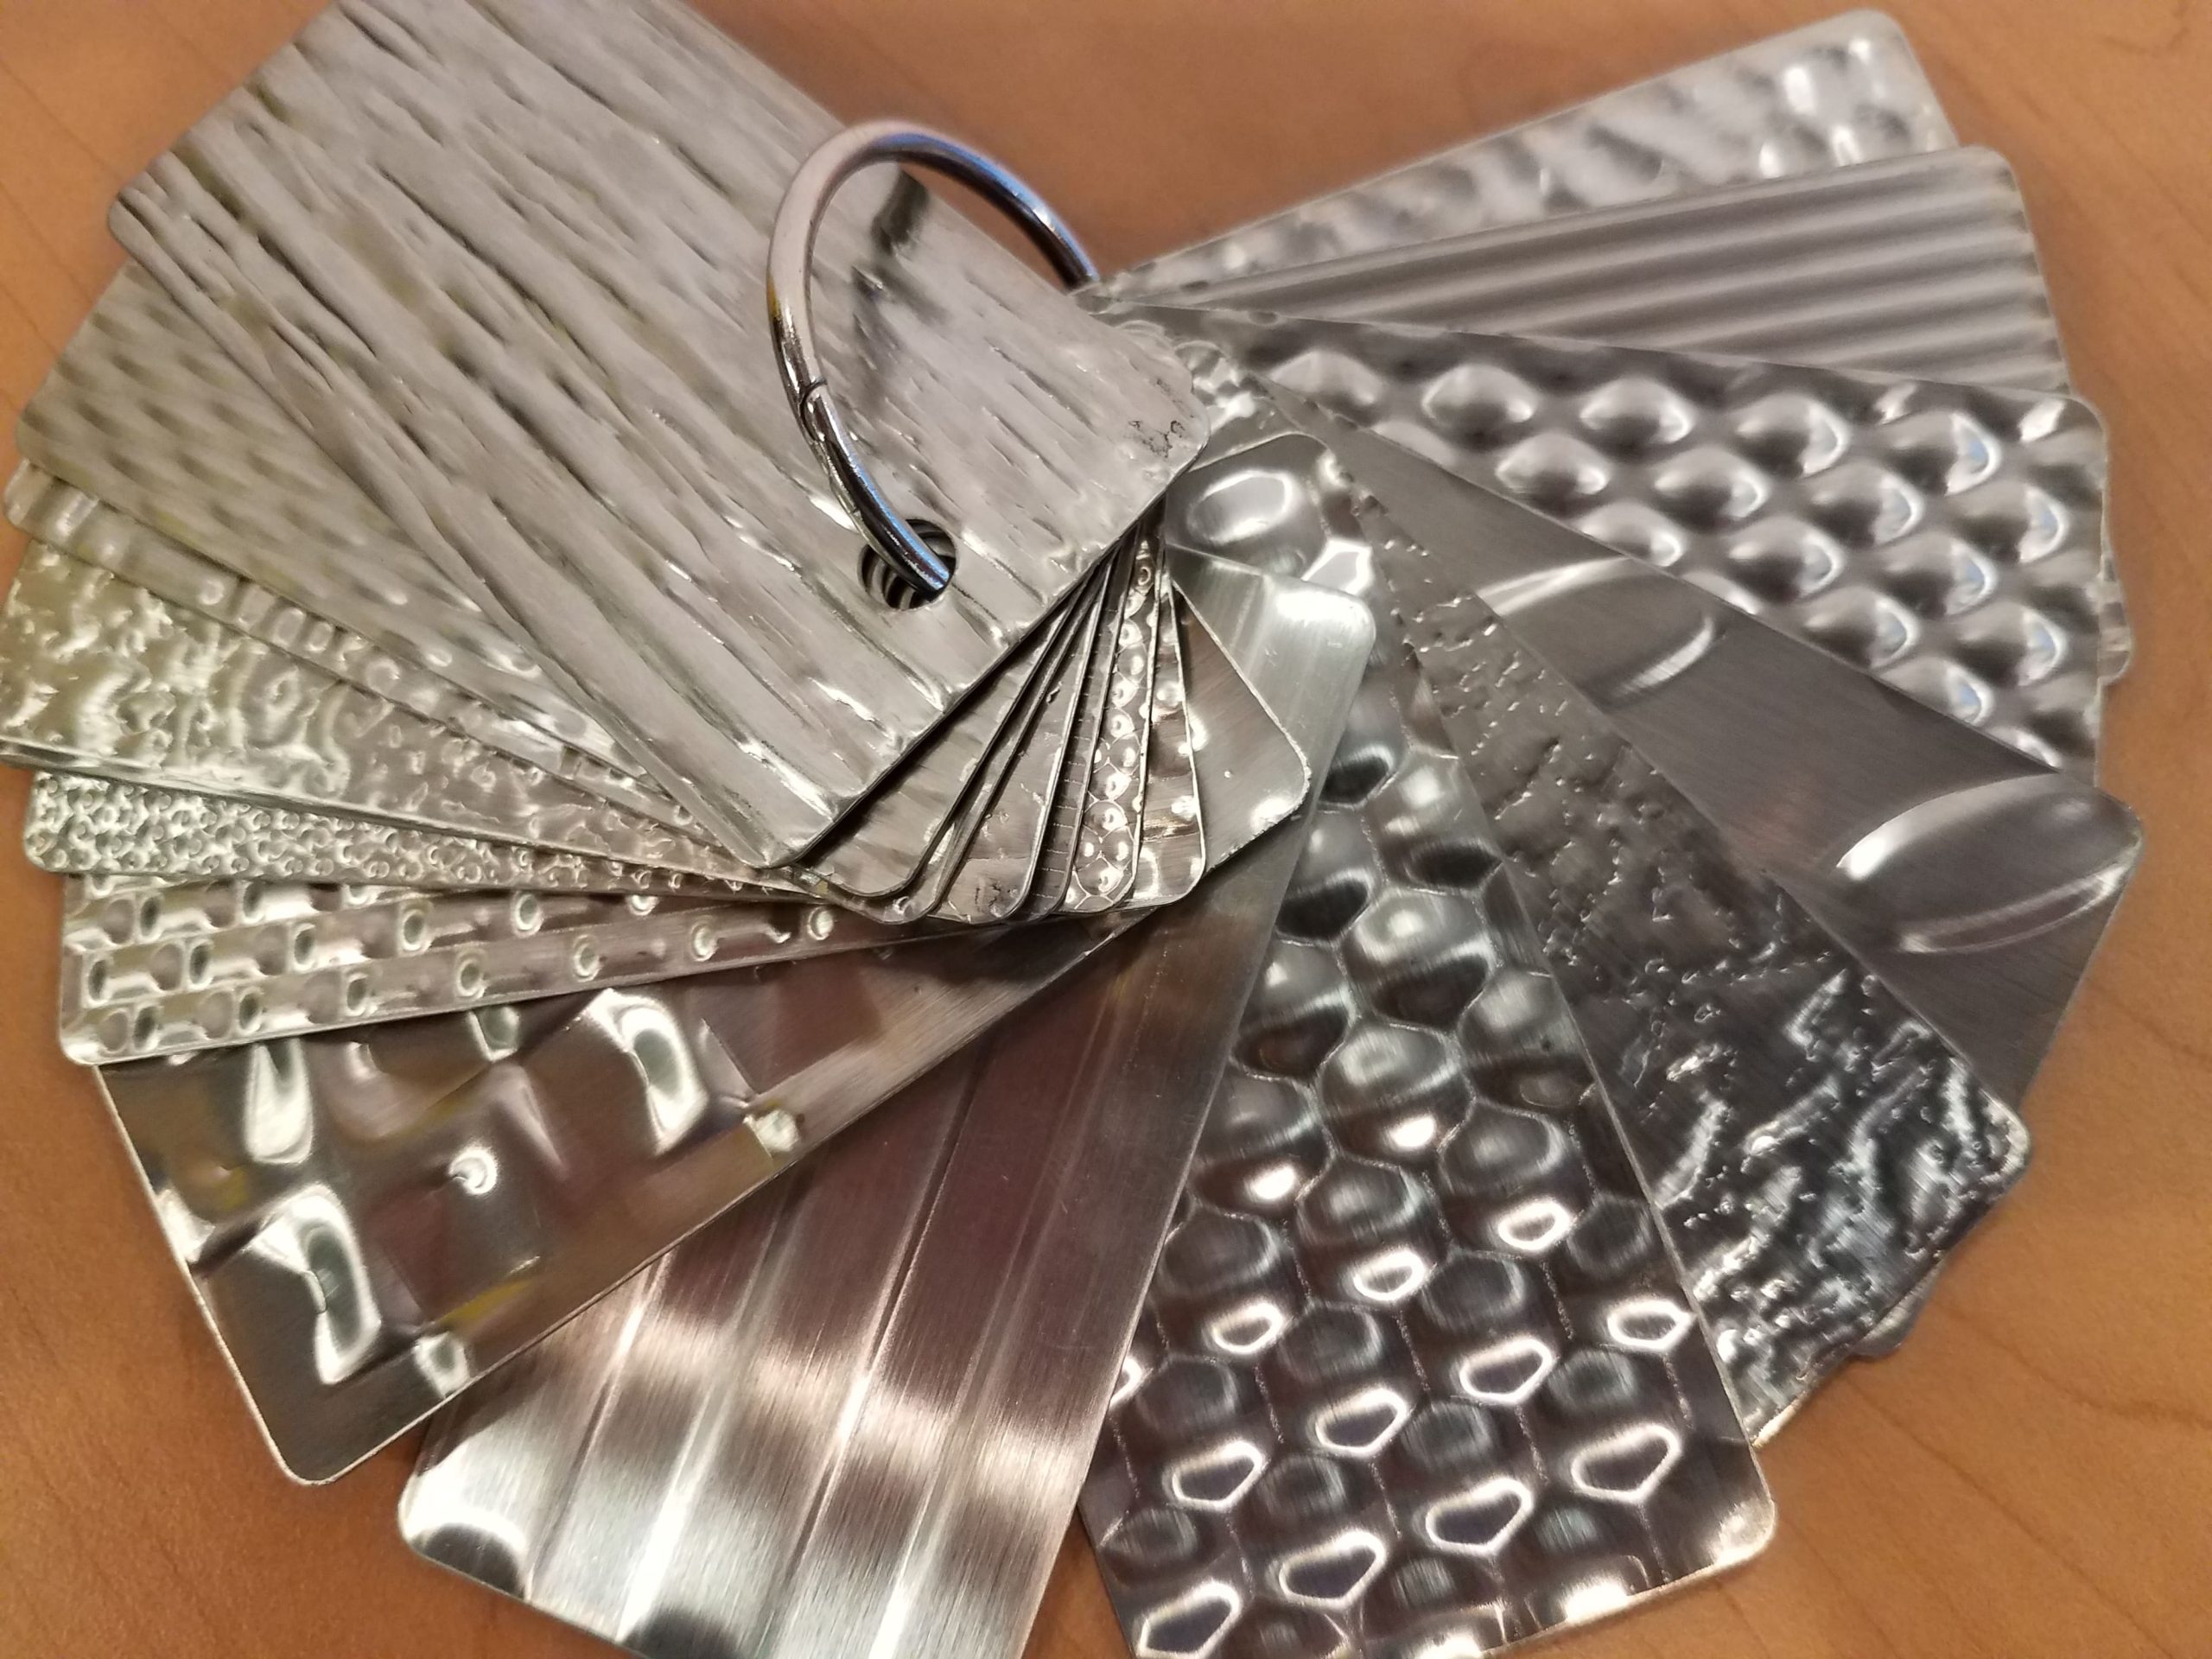
In nearly every industry imaginable, aluminum has a purpose. This highly versatile material can make cooking pans, baking racks, oven racks, food preparation tables and so much more. Over time, however, aluminum has a tendency to oxidize – resulting in a layer of grey, chalky cast on the surface of the metal – and will be more noticeable if the aluminum object has not been used for some time.
If you run a busy commercial bakery, restaurant or food production facility, you might notice oxidation on your aluminum pans and racks. As soon as you notice the aluminum oxidation beginning to form, there are certain methods you can use to remove it from the surface, although you should bear in mind that oxidation is not easily reversible and often the only way to get rid of it is by sandblasting or grinding it off, or indeed replacing the aluminum object.
Here at Schaumburg Specialties, we have all the answers you need to keep your commercial pans and racks corrosion free! We have decades of experience of aluminum metal fabrication, including product customization and custom builds of food production equipment using aluminum – and we have all the know-how on keeping it in tip top condition.
In fact, our iconic SHOPCraft range of commercial food production equipment is designed to perform and built to last a lifetime without any significant corrosion occurring – and that’s supported by our Lifetime Guarantee!
Read on to find out more about aluminum oxidation, our top tips for removing it from different types of aluminum and why our iconic SHOPCraft range is your one stop shop for top-quality, corrosion-free aluminum production equipment….
What Is Aluminum Oxidation?
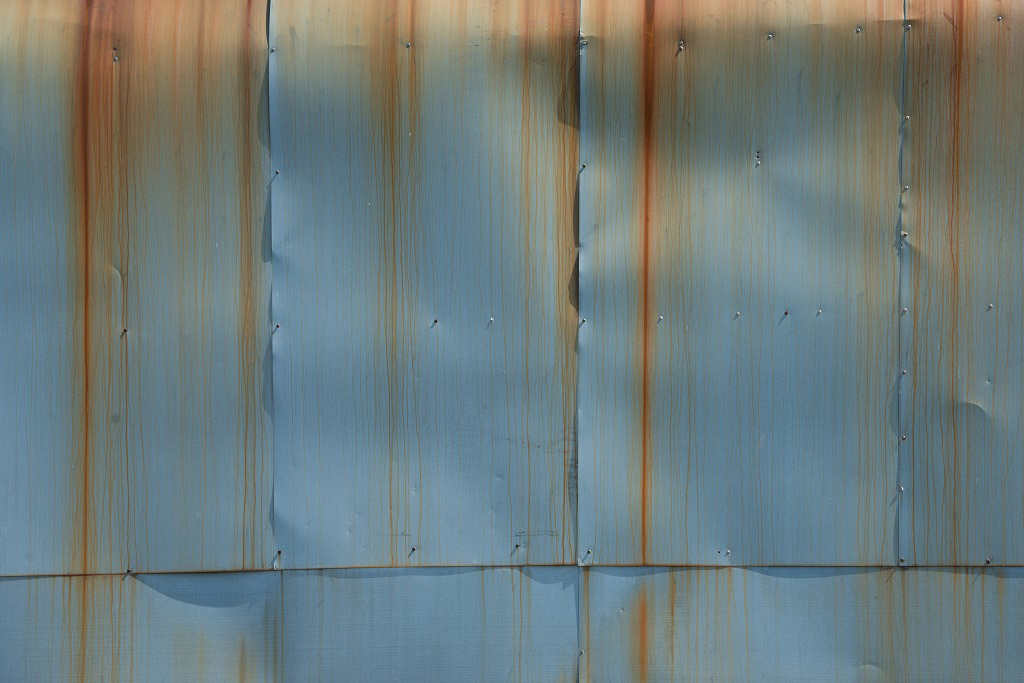
Aluminum oxidation occurs when the metal reacts and combines with oxygen present in moisture or in the air. It’s a natural process that results from the wear and tear of the metal over time (read more about the durability of aluminum).
Here, it’s important to distinguish between rust and corrosion. Rust is a type of corrosion that occurs mainly in iron and steel, particularly when these materials come into contact with moisture. Corrosion refers to the process of metals wearing away due to a chemical reaction. This is what happens when aluminum oxidizes.
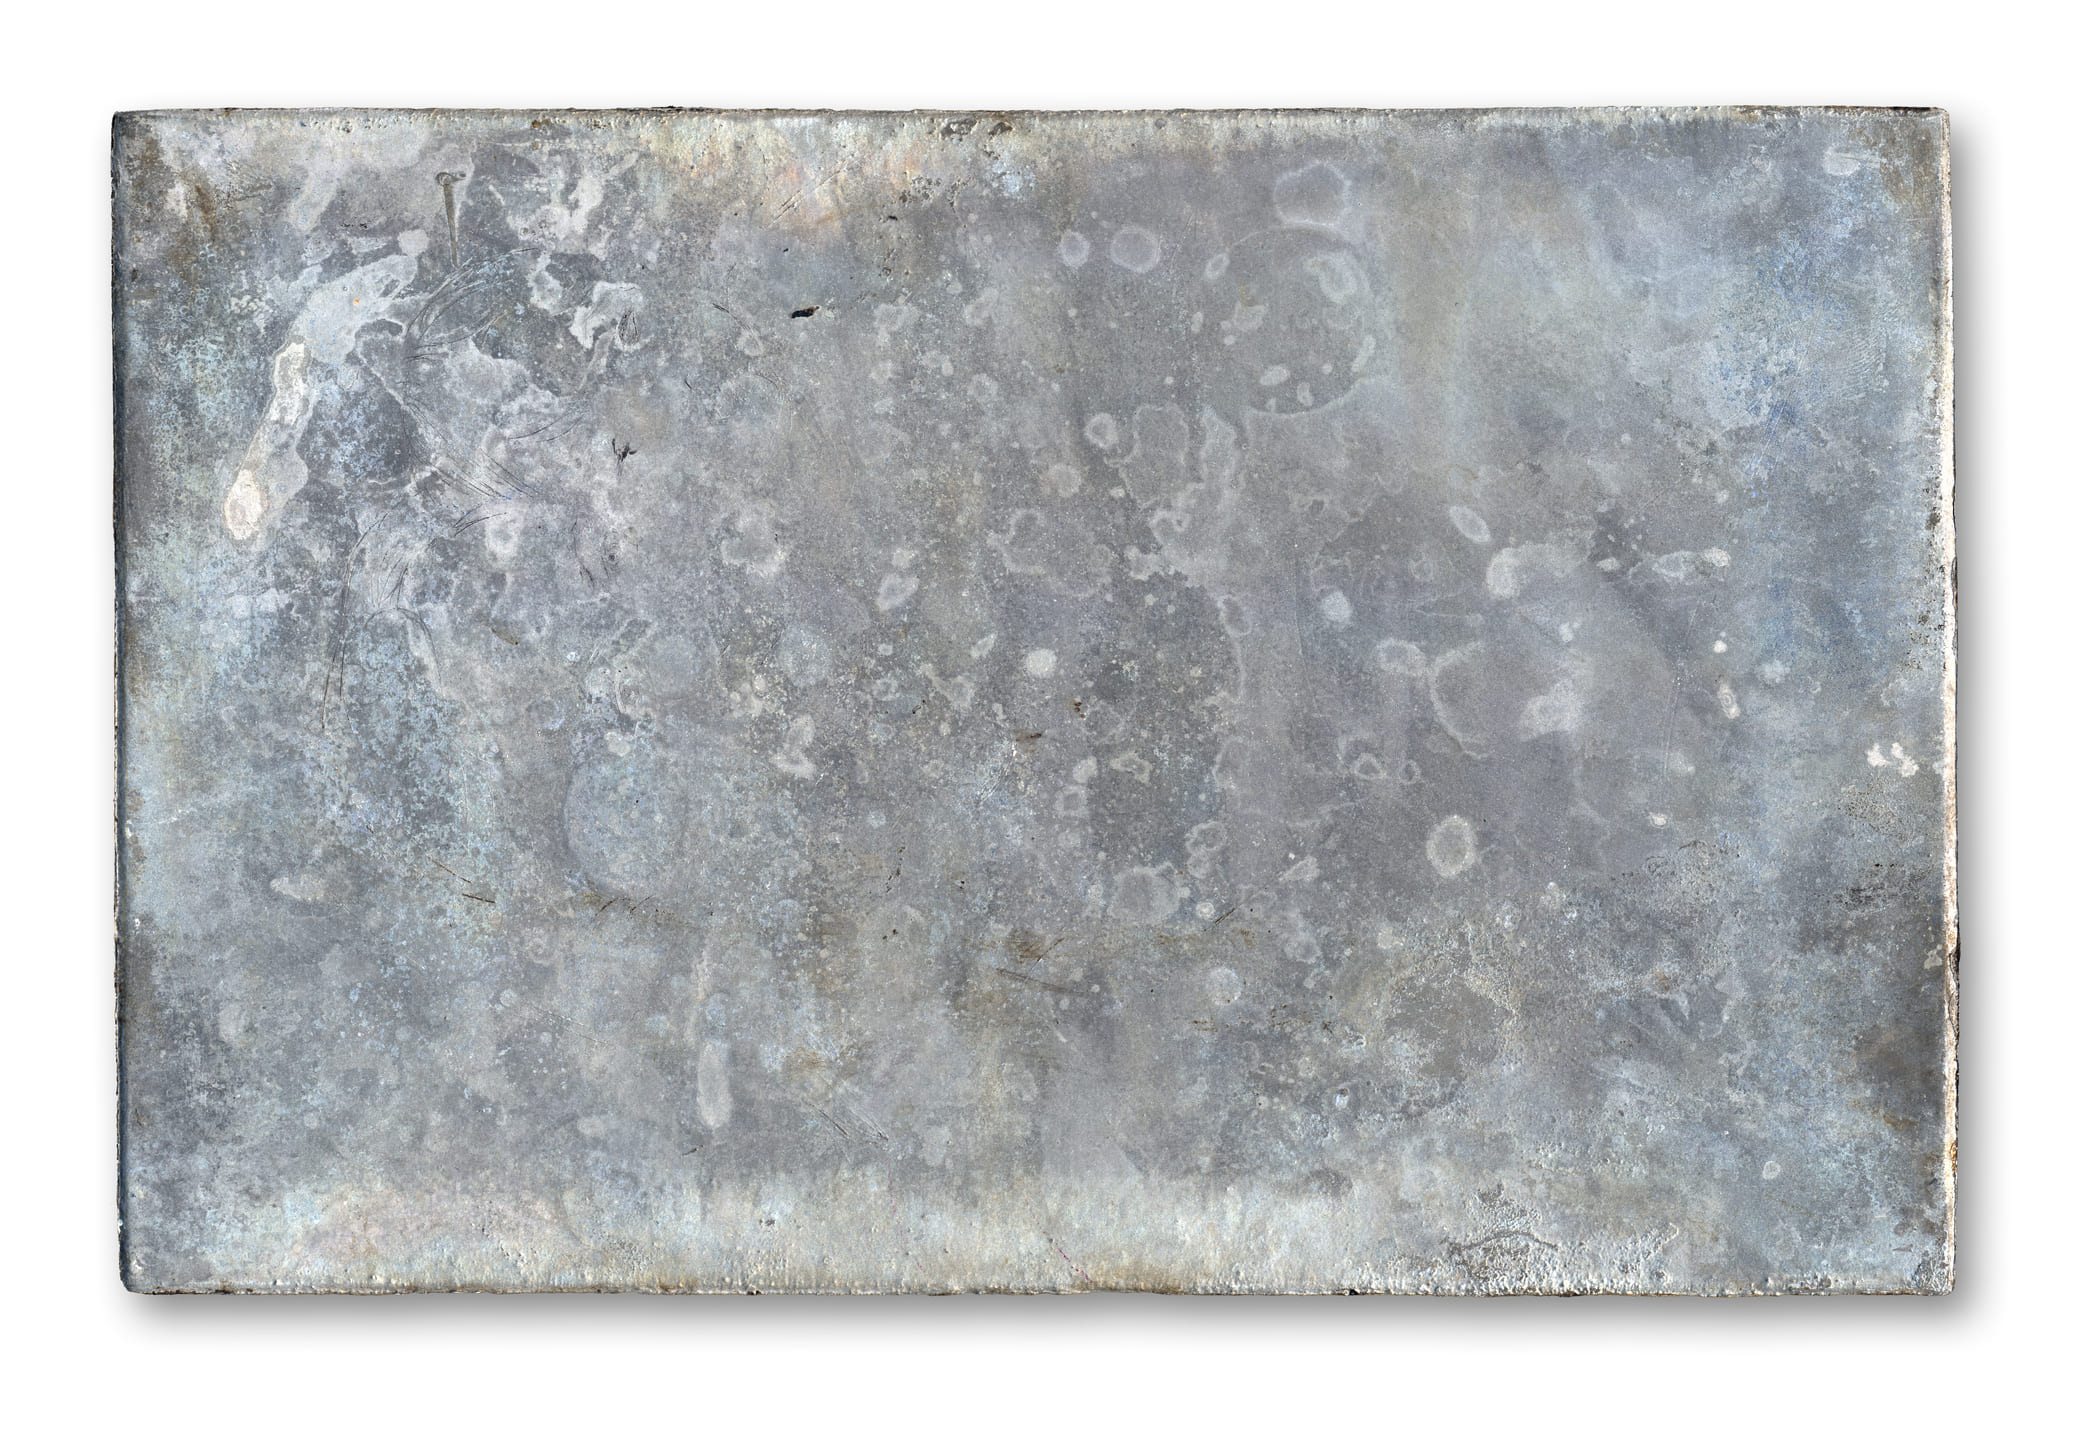
When aluminum oxidises, a white powdery and chalky coating develops on the metal’s surface. Amazingly, this initial oxidation actually helps to protect the aluminum from additional corrosion and is a big part of the reason why aluminum metal is so corrosion resistant!
In our experience, aluminum corrosion is typically the result of aluminum raw materials being stored outside or having gotten wet between pieces stacked or bundled together. This corrosion – sometimes referred to as water stain, which appears as a white, chalky substance – happens very quickly and can significantly affect the surface appearance of the metal.
This difference with water stain corrosion is that it’s incredibly difficult to remove. For example, we recently had some tubing come in from a vendor that was seriously corroded. We tried to remove this by using an acid-type aluminum brightener which is a strong chemical and the results were minimal. The only real way to deal with corrosion of this type is mechanically grinding or sanding to remove the contaminated outer surface.
On the whole, you don’t see this type of corrosion on a single part such as a pan rack that has surfaces that don’t touch. You only see a slight dulling of the surface, and this we can easily clean by using an aluminum brightener! Job done!
Read on for our step-by-step instructions on how to clean oxidation from cast, brushed, hammered and tarnished aluminum and why Schaumburg Specialties is the go-to expert for all your aluminum food production equipment needs.
How to Remove Oxidation From Cast Aluminum
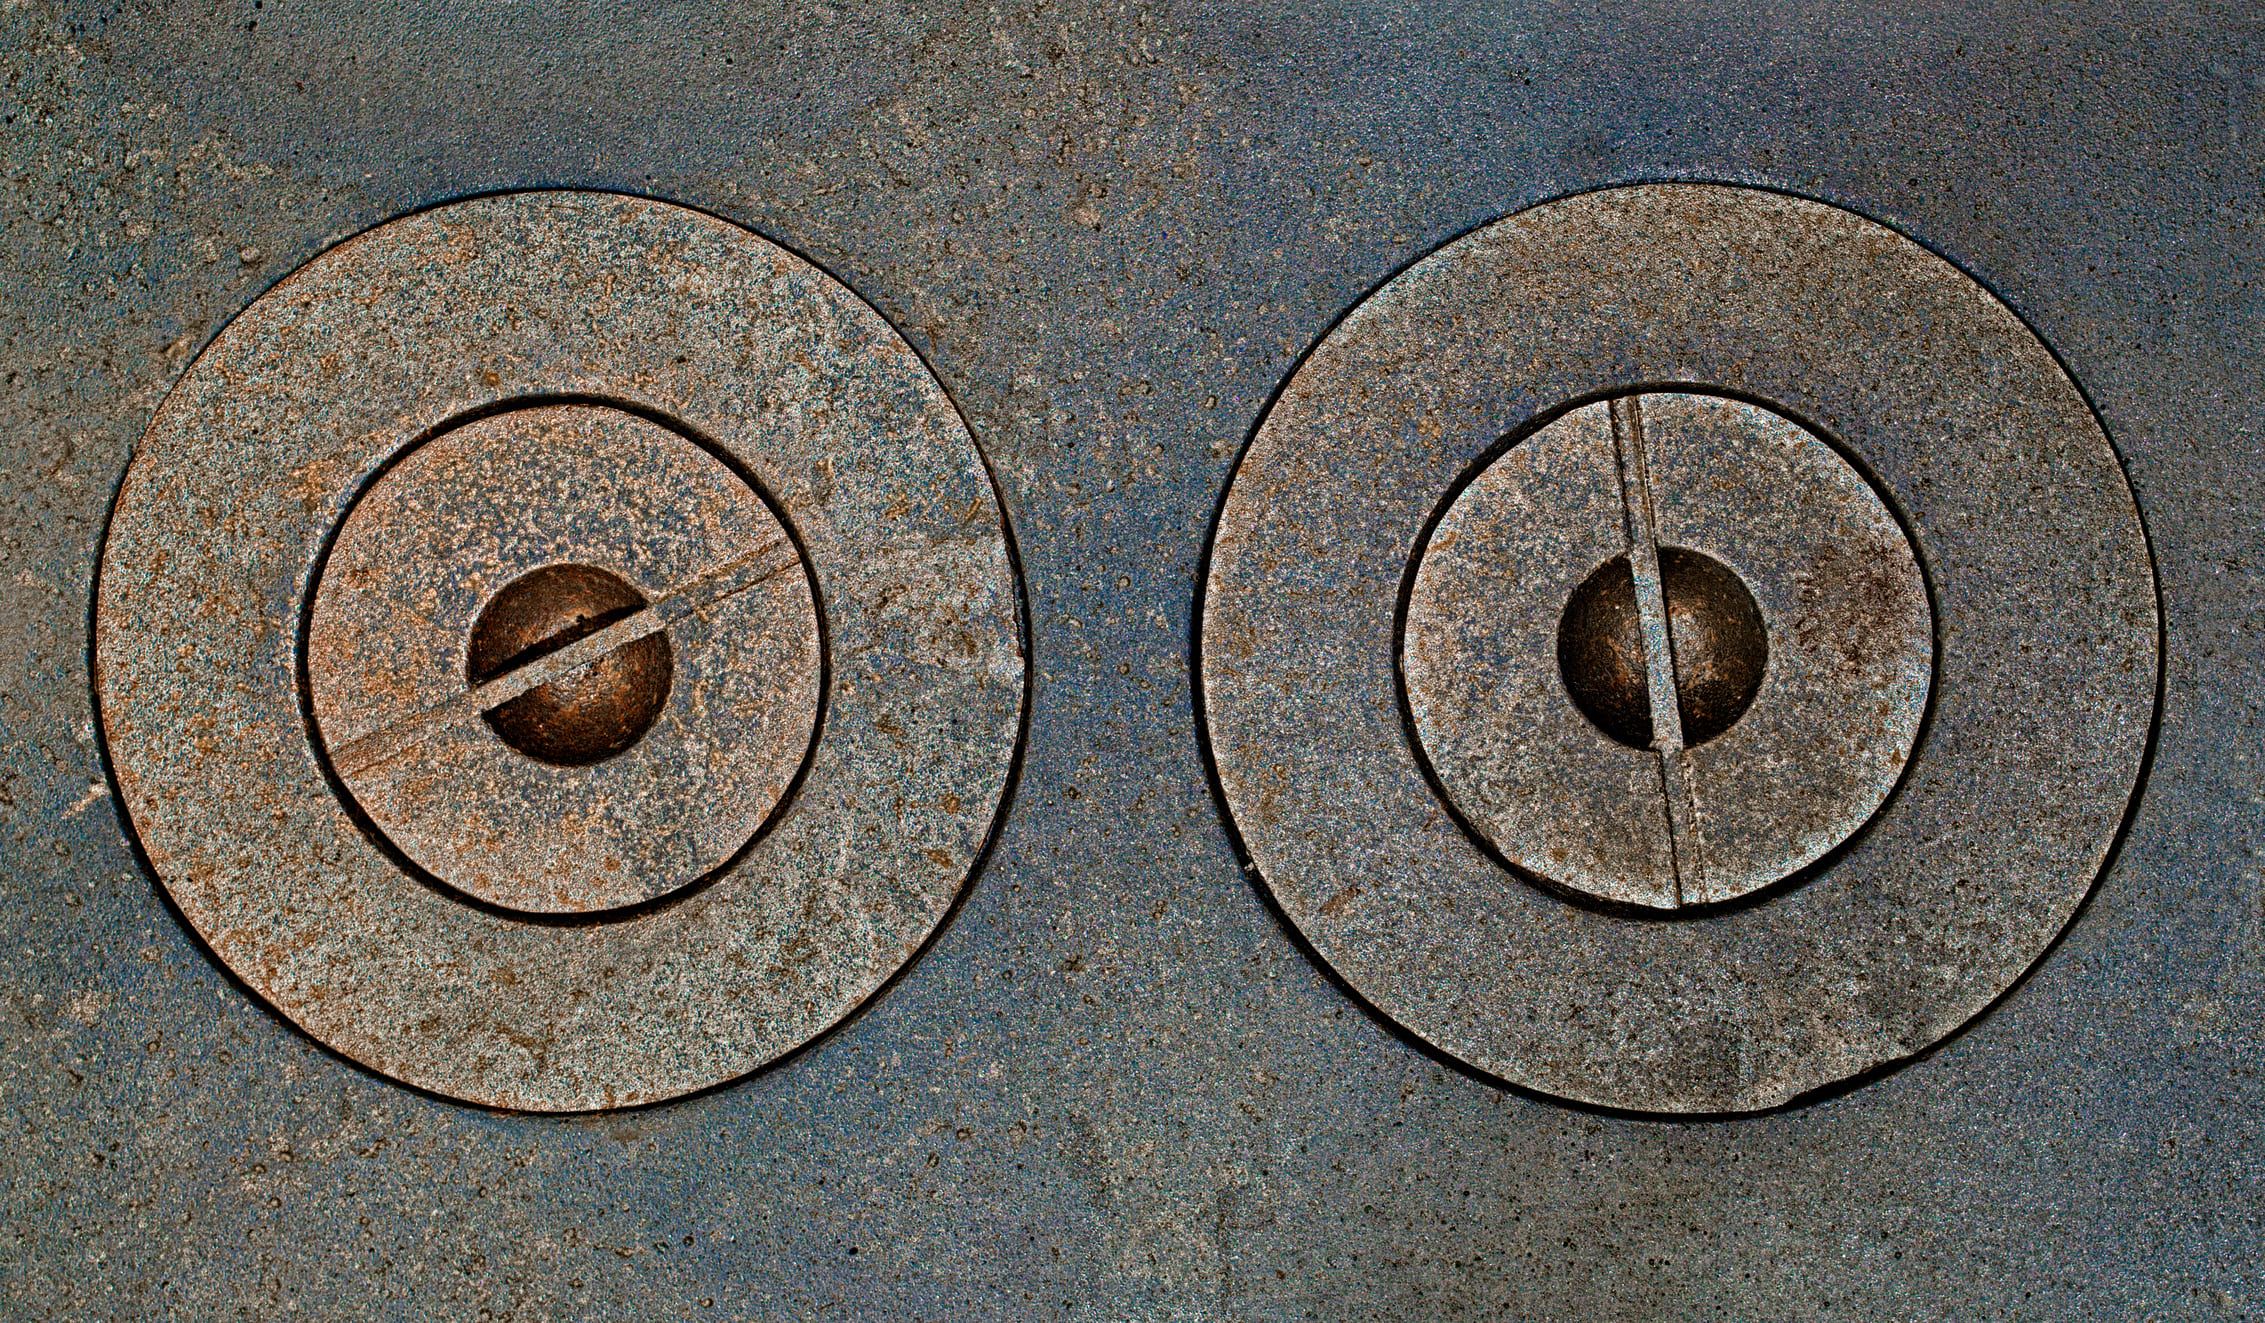
Cast aluminum (casting refers to the process whereby molten aluminum is poured into a mold and allowed to solidify) can be found in several types of cookware. To clean cast aluminum, you’ll need:
- Dry cloths for cleaning
- Cream of tartar
- A soft-bristled toothbrush or a gentle cleaning pad
- Lemon juice
- Rubber gloves
- A bucket and/or spray bottle
Step #1: Clean Away Dirt or Debris
Remove any built-up material that has accumulated on your aluminum. If you’re cleaning a skillet for example, simply fill the pan with water and boil it for a few minutes to loosen the food. Then, use a wooden spatula or other similar utensil to gently wipe away the excess food in the pan.
Step #2: Try Again with Vinegar or Acid
Some aluminum pans may give you a difficult time if you haven’t cleaned them before. For an easy fix, just add some sort of acid in with the boiling pan water. You can use white vinegar, cream of tartar, lemon juice, lime juice, tomato, or even chopped apples. Add one of the above ingredients to the water for approximately 15 minutes and then attempt to remove the food again.
Step #3: Opt for Fine-Grade Steel Wool
Did the above attempts result in minimal progress? Don’t get discouraged, as cleaning cast aluminum oxidation can be difficult. Using fine-grade steel wool to remove the food is best completed with gentle strokes that move with the grain.
If you use too much force during this approach, it could result in scratches, so be careful not to press too hard.
Step #4: Use a Soft Pad
Once you have the large food particles removed, it’s time to move onto the next step. Pour 4 cups of water into the pan with 2 tablespoons of cream of tartar. Bring this mixture to a boil and allow it to stay boiling for 10-15 minutes. Then use a soft, non-abrasive pad to clean your cast iron aluminum.
Step #5: Pour Out & Allow to Cool
Once the mixture is done boiling, empty the solution of water and cream of tartar until you can comfortably touch the pan. Next, take some sort of cloth or non-abrasive pad (a toothbrush will also work) and scrub the pan in gentle, circular motions.
Step #6: Add Lemon Juice
When the pan looks clean, you can move onto the final step. Create a mixture of half cup of lemon juice combined with 1-½ cups water. If you don’t have lemon juice on hand, you can also substitute white vinegar.
Using your clean rag or cloth, dip it into the mixture and gently wipe it over the surface of the pan, removing the tartar solution. Another helpful method is using an empty spray bottle you have around the house and using it to spray the lemon and water mixture directly onto the pan.
Finally, using a dry, clean cloth, wipe out any liquid that remains in your pan.
How To Remove Oxidation From Brushed Aluminum
Items made with brushed aluminum typically include stoves, refrigerators, fixtures found in the kitchen or bathroom, or even on car hubcaps.
To efficiently clean this type of aluminum, you’ll need:
- 3 items of dry clothes
- A non-abrasive cleaning pad
- A bucket
- Water
- White vinegar
- Commercial glass cleaner
- Rubber gloves to keep hands protected
- A small bowl
- Lemon juice
- Baking soda
- Cream of tartar
Step #1: Wipe the Surface
Take your clean clothes and wipe them along the aluminum to get rid of any dust or debris. This provides a clean surface and provides you with better access to the oxidation level of the item.
If the cloth alone isn’t working well, you can switch to a non-abrasive cleaning pad to remove built-up dirt or grime.
Step #2: Use Water and Dishwashing Soap
There may still be dirt and debris on the aluminum that is difficult to remove. If this is the case, take the small bucket and fill it with hot water. Add 2-3 drops of dishwashing soap into the water and soak your cloth in it.
Take the soaked non-abrasive pad and gently begin to scrub the aluminum surface. You can move the pad in a circular motion, especially focusing on areas that are particularly discolored.
Step #3: Make a Paste
Some discolored areas may be giving you a tough time even after using the dishwashing soap solution. If this is the case, don’t give up! There are more simple routes to try.
Take a tablespoon of cream of tartar and combine it with half a tablespoon of water. The paste shouldn’t be too runny.
If you don’t have the cream of tartar, you can swap it for another option, such as baking soda mixed with lemon juice. This mixture should be roughly ⅓ baking soda and ⅔ lemon juice.
Layer this paste on top of the difficult-to-clean areas of the aluminum and allow it to sit for up to 10 minutes. Using your clean, wet cloth, gently wipe away the paste to reveal the cleaned surface.
Step #4: Use Glass Cleaner
As soon as the discolored spots are removed, use your glass cleaner for a final wipe-down. Finally, use a dry cloth to remove any excess window cleaner, leaving behind a smooth surface.
Step #5: Bring Out the Shine
If you want to improve the appearance of your aluminum, invest in a commercial metal polish from any home improvement store. To apply the polish, simply take a dry cloth and dip it in the polish. Work the product in using small, circular motions to bring out the shine.
Coat your work with a clear sealant to help preserve the aluminum’s shine for months to come!
How To Remove Oxidation From Hammered Aluminum
Hammered aluminum is often associated with antiques or older items. Before you get started with the cleaning process, you’ll need:
- Dry, clean cloths
- Cream of tartar
- A non-abrasive cleaning pad
- Rubber gloves to keep your hands protected
- Mild dishwashing soap
- One large cooking pot
Step #1: Fill the Pot
To your cooking pot, add 2 cups of water, 4 tablespoons of cream of tartar, and 1 cup of something acidic such as white vinegar or lemon juice.
Bring this mixture to a boil on your stove. Depending on the size of the item that you’re cleaning, you may want to double this recipe in a larger pot.
Step #2: Find an Open Sink, Plug the Drain
Find an open sink or tub that you can use for soaking. Plug either the sink or the tub and pour the boiled water mixture in.
Place the hammered aluminum item into the sink, tub, or bucket and let it soak for at least 10 minutes. If your aluminum item is heavily blackened, you should let it soak even longer for maximum effect.
Step #3: Drain the Water
As soon as the item has soaked for a sufficient amount of time, you can drain the water mixture. Replace this liquid with hot water (not boiling) and mix in one teaspoon of mild dishwashing soap.
Allow this mixture to continue soaking for a few more minutes for a full cleaning effect.
Step #4: Gently Scrub
After a minimum of 5 minutes, take the soaking aluminum item out of the water and use a non-abrasive scrubbing pad. Rub the item gently to remove the darkened portions that remain.
As soon as the black portions have been removed, rinse the item so there is no soapy residue left behind. Use a dry cloth to completely wipe down the item and remove excess moisture.
Step #5: Polish the Metal
For a lasting shine on your hammered metal, use a commercial metal polish to keep your item in great condition.
How To Remove Oxidation From Tarnished Aluminum
Tarnished aluminum refers to dark, dull areas that can form on utensils, pots, pans, and other food production equipment.
You can start by following the same steps used to clean cast aluminum. If this isn’t working, consider making a solution with Borax, a natural cleaning agent.
You’ll need:
- Borax (check the laundry detergent section of any home improvement store)
- One small bucket
- One toothbrush or other soft-bristled brush for cleaning
- Multiple clean, dry cloths
Step #1: Make a Paste
To start, use ¼ cup of Borax and mix it with a small amount of water. Add the water slowly so you can achieve the ideal consistency. You need a paste that’s not so wet that it slides off, but not so dry that it’s powdery.
Step #2: Apply the Paste to the Aluminum
Once you have the right consistency, use your brush to carefully apply the mixture to the areas of the aluminum that have tarnished. Let this mixture sit on the aluminum item for at least 10 minutes. More intense stains may need as long as an hour of soaking before coming off.
Step #3: Rub In the Paste
Use the toothbrush to work the Borax mixture into the stains on the aluminum item. As you do so, you’ll see the tarnish begin to lift. Use a damp cloth to remove any excess paste that has been left behind.
Finish the process by thoroughly drying the item with a dry cloth.
How To Remove Heavy Oxidation From Aluminum
Heavy oxidation can occur over time, but don’t worry you can still effectively remove it from your aluminum food production equipment.
You’ll need:
- Dry cleaning cloths
- Non-abrasive cleaning pads (or a gentle cleaning brush)
- Mild dishwashing soap
- Aluminum polish
- One bucket
- Rubber gloves for hand protection
- Clean microfiber cloth
- Denatured alcohol
- Lemon
- Salt
- Aluminum oxidation remover
Step #1: Remove Debris
Remove any large pieces of dirt or debris that have accumulated using either the brush or a cloth.
Step #2: Create Cleaning Mixture
Next, you’ll want to combine one tablespoon of dishwashing soap with roughly one gallon of warm water.
Take the pad, brush, or cloth and dip it into this mixture to start the cleaning process. Using too much force can cause damage, so it’s best to use light pressure.
Step #3: Rinse
Once the surface has been sufficiently cleaned, rinse the brush or cloth to remove any soap mixture.
DIY Ways Of Cleaning
DIY cleaning solutions for aluminum are easy to make, and they’re an effective way to clean the food production equipment items in your commercial bakery or restaurant.
- Simply combine 1 tablespoon white vinegar with 2 cups of warm water. You can scale this solution if you need a larger volume of cleaning solution.
- Use a cloth and dip it into the mixture to gently clean your aluminum surface.
- Be sure to remove excess residue when you’re finished.
- Allow the aluminum to dry on its own.
How Schaumburg Specialities Can Help:
Top Quality, Corrosion-Resistant Equipment That Lasts A Lifetime
With a bit of research and persistence, you can restore the aluminum items in your commercial kitchen or food production facility to their natural sheen. Indeed, knowing how to keep oxidation to a minimum is a great life skill as aluminum is present in an abundance of items in our daily lives.
Of course, all the tips and tricks we’ve revealed above for removing oxidation from your aluminum equipment can be pretty time consuming to execute.
So why not save yourself tons of time and money and invest in our SHOPCraft range of food production equipment?
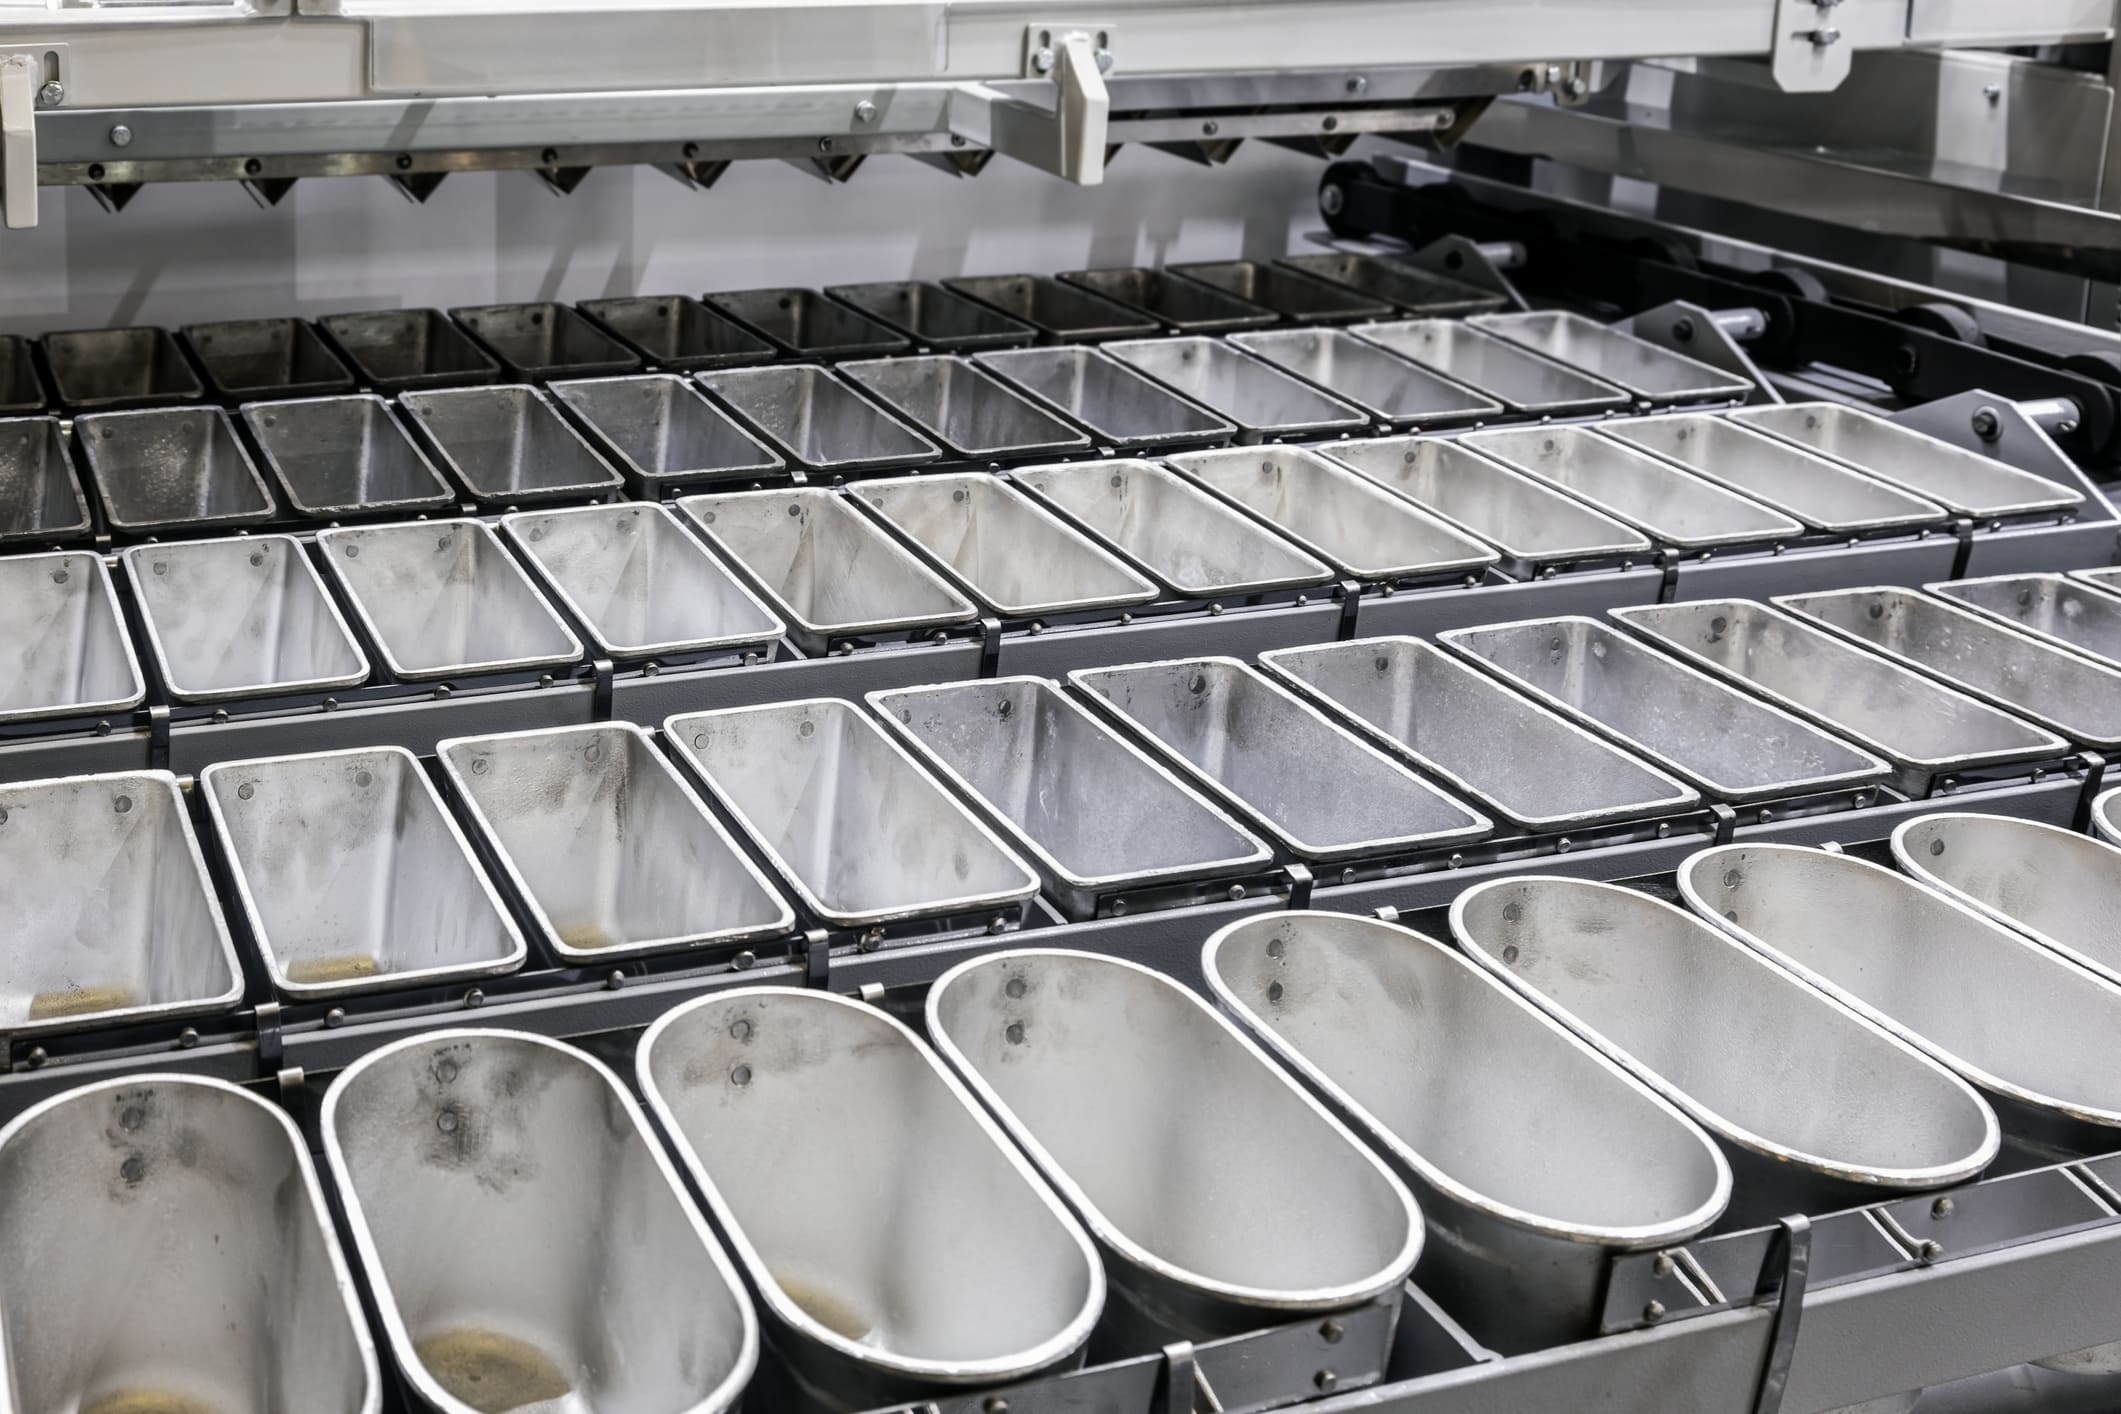
At Schaumburg Specialties we have a proud track record of manufacturing high quality, top performing racks and pans and other equipment that are extremely unlikely to corrode. Using such reliable, highly corrosion-resistant equipment will save you lots of time trying to keep your racks and pans clean and save you loads of money on expensive repairs and replacements in the long run.
The SHOPCraft range also comes with a Lifetime Guarantee, meaning you can rest assured that your food production equipment will be well looked after for its lifetime (read more about why our SHOPCraft range is well worth investing in).
Head on over to our website today to view the full SHOPCraft range and contact our experts today to get your product customization or custom build project up and running. Whatever your food production equipment requirements and challenges, our design and manufacturing experts can work with you to find the perfect solution for your business.
Custom Build Your Project With Schaumburg Specialties
Here at Schaumburg Specialties, your productivity is our passion. Regardless of your spatial, budgetary or operational requirements, our team of SHOPCraft experts can design and manufacture the aluminum food production equipment you need to transform the productivity at the heart of your business. To find out more about how we can help, contact us for a free quote.